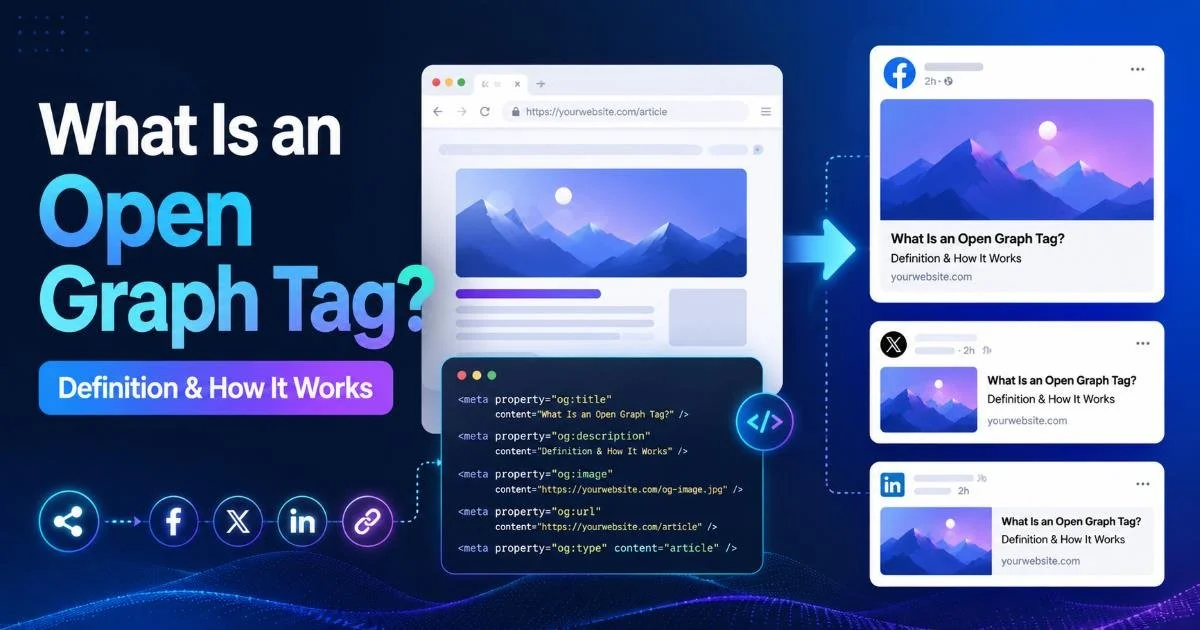
A link preview tool can make or break your click-through rates on social media. When you share a URL on Facebook, LinkedIn, or Twitter/X, the platform reads your open graph tags to generate a visual card with a title, description, and image. If those tags are missing, poorly formatted, or outdated, the preview looks broken, and users scroll right past your content.
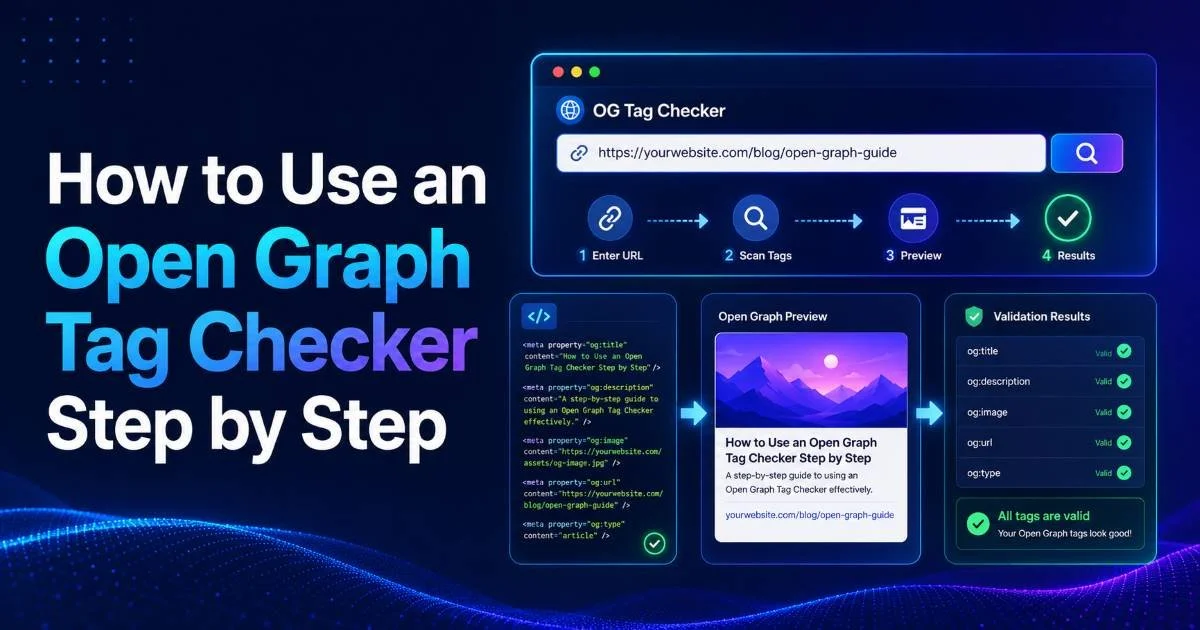
For web developers and SEO specialists, understanding how to validate and optimize this social media preview metadata is a direct path to higher engagement. An open graph tag checker gives you the ability to inspect exactly what platforms will display before you hit publish. This guide walks through four actionable steps to audit, fix, and continuously improve your OG tags so every shared link earns the attention it deserves.
Key Takeaways
- Broken or missing OG tags can reduce social click-through rates by over 50%.
- Always validate previews with a metadata validator before publishing any new page.
- Custom og:image dimensions of 1200x630 pixels produce the best results across platforms.
- Titles under 60 characters and descriptions under 155 characters prevent ugly truncation.
- Automated monitoring catches OG tag regressions before your audience notices them.
Step 1: Audit Your Existing OG Tags with a Metadata Validator
Before you optimize anything, you need a clear picture of what you're working with. Run your top 20 highest-traffic URLs through an og tag checker and document every issue. Common problems include missing og:title tags, duplicate og:description values pulled from boilerplate templates, and og:image URLs pointing to broken or resized thumbnails. If you've never done a structured audit, you may discover that a surprising number of pages lack OG tags entirely.
What to Look For in Your Audit
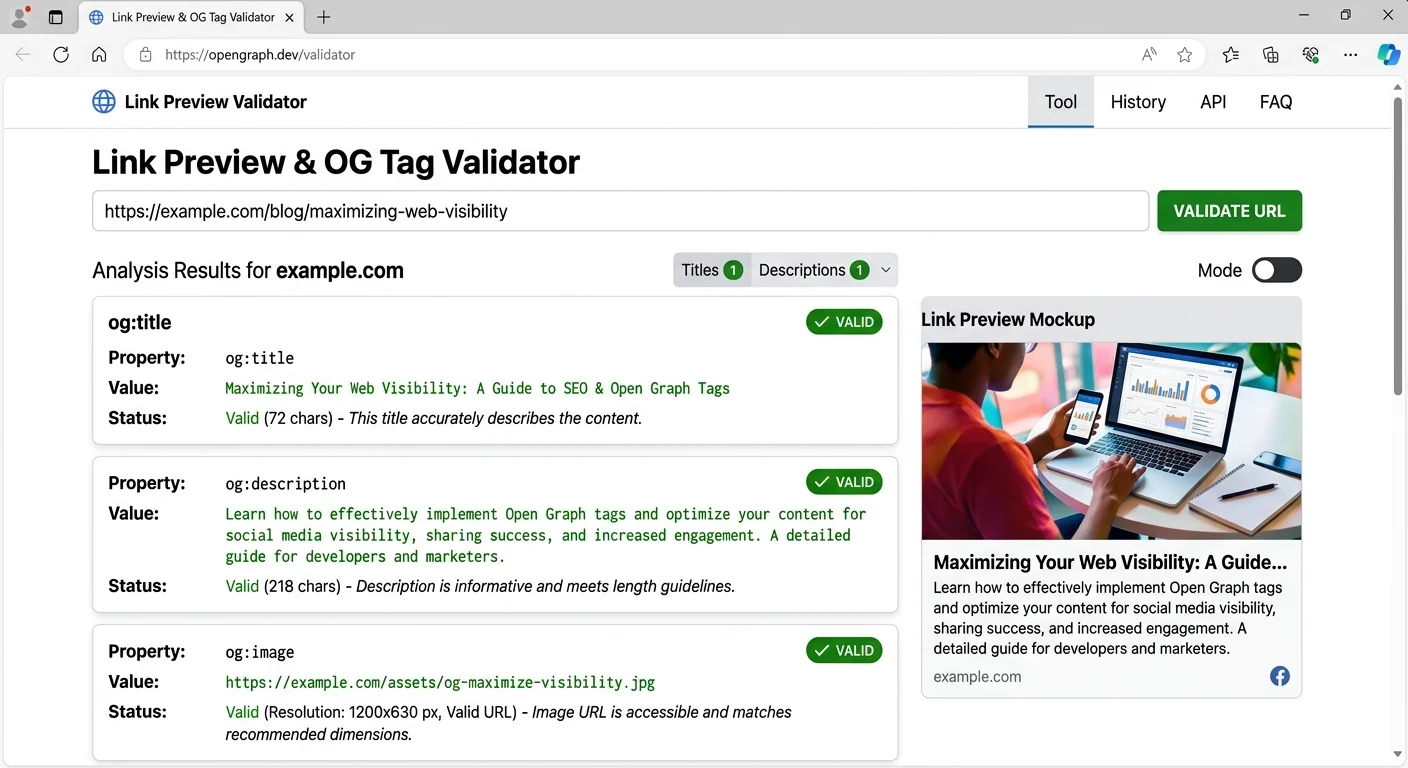
Start by checking whether each page has the four required properties: og:title, og:type, og:image, and og:url. These are the minimum fields that Facebook's Open Graph protocol expects. Missing any one of them forces platforms to guess, and their guesses are often wrong. A metadata validator tool will flag these gaps instantly, saving you from manually inspecting page source code.
Export your audit results into a spreadsheet, ranking pages by traffic volume so you fix high-impact URLs first.
Pay special attention to og:image dimensions and file sizes. An image that's too small (under 200x200 pixels) will either not display or appear pixelated on high-density screens. Conversely, images over 8MB may time out during the platform's scrape. Record every issue you find, categorize them by severity, and prioritize fixes that affect your most-shared content first.
Once your audit is complete, you should have a ranked list of pages needing attention. Group issues into categories: missing tags, incorrect dimensions, truncated text, and stale cached previews. This organized approach prevents the common mistake of fixing one page at a time without a system, which almost always leads to regressions when new content goes live without proper tags.
Step 2: Craft High-Converting Preview Titles and Descriptions
Your og:title and og:description are the copy that sells the click. They function like ad headlines inside a social feed, competing against friends' photos, news articles, and sponsored posts. Generic titles like "Home" or auto-generated descriptions pulled from the first paragraph of your page will not perform. Treat every OG title and description as a micro-copywriting exercise with measurable impact on traffic.
Title Best Practices
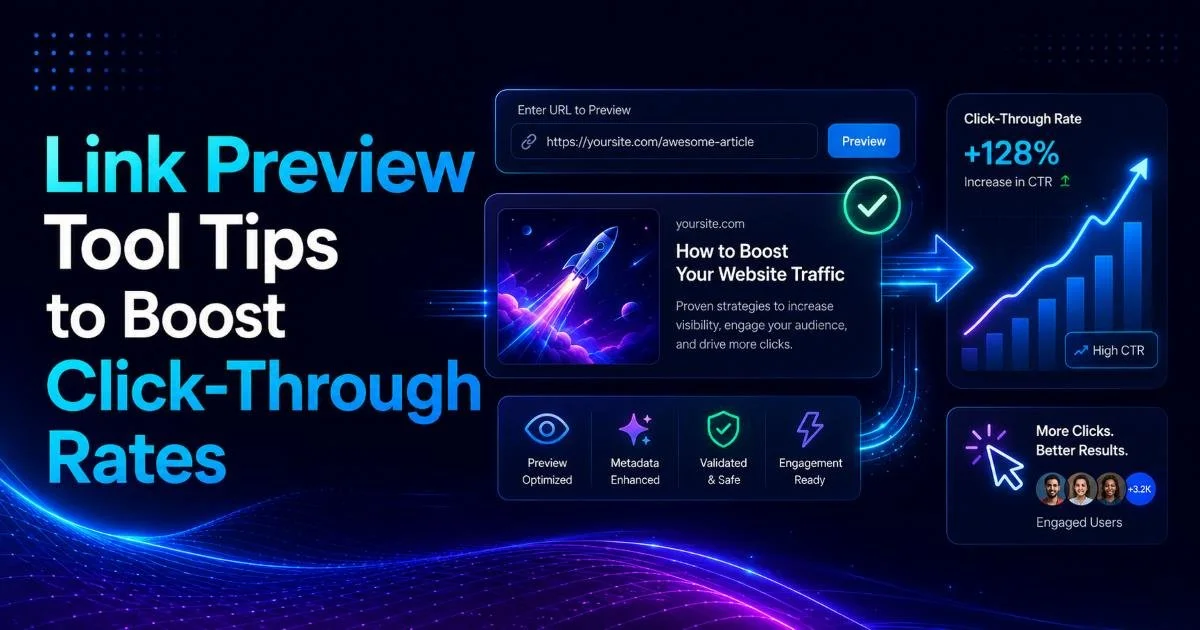
Keep og:title under 60 characters to avoid truncation on Facebook and LinkedIn. Front-load the most compelling keyword or benefit. For example, "Link Preview Tool Tips to Boost Click-Through Rates" tells users exactly what they'll get, while "Our Latest Blog Post About Social Sharing" communicates nothing actionable. If you're optimizing OG tags for social media previews, treat the title as your single most powerful engagement lever.
Description Strategies
The og:description should complement the title, not repeat it. Use 100 to 155 characters to expand on the promise with specifics. Numbers, outcomes, and timeframes work particularly well. "Learn 4 steps to fix OG tags and increase social CTR by 30% this quarter" outperforms "Read our guide about open graph tags." Each description should answer the implicit user question: "Why should I click this instead of scrolling past?"
A/B test different og:description variations by updating the tag, clearing the platform cache, and comparing CTR in your analytics over a two-week window.
Avoid stuffing descriptions with keywords or using clickbait phrasing that doesn't match the actual content. Platforms penalize misleading previews through reduced reach, and users who feel tricked will bounce immediately, hurting your engagement metrics. Write descriptions that are accurate, specific, and compelling. The sweet spot is honest specificity: tell people exactly what value awaits them on the other side of the click.
Step 3: Optimize Your OG Images for Maximum Visual Impact
The og:image is the largest visual element in any link preview card, and it's the first thing users notice in a crowded feed. Research consistently shows that posts with high-quality, properly sized images receive significantly more engagement than those with default thumbnails or broken image placeholders. Your image strategy can be the difference between a 0.5% and a 3% click-through rate on the same piece of content.
Image Specs by Platform
| Platform | Recommended Size | Aspect Ratio | Max File Size | Format |
|---|---|---|---|---|
| 1200x630px | 1.91:1 | 8MB | JPG, PNG | |
| 1200x627px | 1.91:1 | 5MB | JPG, PNG | |
| Twitter/X | 1200x628px | 1.91:1 | 5MB | JPG, PNG, GIF |
| Discord | 1200x630px | 1.91:1 | 8MB | JPG, PNG |
| Slack | 1200x630px | 1.91:1 | 5MB | JPG, PNG |
The universal safe zone is 1200x630 pixels at a 1.91:1 aspect ratio. Design your og:image at this size, and it will render correctly across all major platforms without cropping or distortion. Place key text and focal points in the center 80% of the image, because some platforms crop edges slightly. Always use high-contrast text overlays if your image includes words; light text on a busy photo background becomes unreadable at thumbnail size.
File format matters too. Use JPG for photographic images to keep file sizes manageable, and PNG when you need transparency or crisp text rendering. Compress all images before setting them as og:image values. Tools like Squoosh or ImageOptim can reduce file sizes by 40 to 70% without visible quality loss. Run your final image URL through your link preview tool to confirm the platform can fetch it within its timeout window, which is typically 2 to 4 seconds.
Never use SVG files as og:image values. Most social platforms cannot render SVGs in preview cards and will show a blank space instead.
Consider creating a reusable og:image template for your site. Include your brand logo, a consistent color palette, and a text area sized for 5 to 8 words. This template approach speeds up content production while maintaining visual consistency across all shared links. Teams that standardize their OG image workflow report spending 75% less time per page on social optimization.
"The og:image is your billboard in the social feed. A generic stock photo tells users you didn't care enough to customize the experience."
Step 4: Automate OG Tag Monitoring Across Your Site
Manual audits catch problems at a point in time, but websites change constantly. New pages get published, CMS updates overwrite meta tags, and CDN configurations can break image URLs without warning. Sustainable OG tag quality requires automated monitoring that alerts you to issues before broken previews go viral in your audience's feeds. This is where systematic tooling becomes essential for any team managing more than a handful of pages.
Building a Monitoring Workflow
Set up a scheduled crawl that checks every public URL on your site for valid OG tags at least weekly. You can learn how to use an open graph tag checker step by step to build this into your deployment pipeline. Many teams integrate OG validation into their CI/CD process, so a missing og:title triggers a build warning before the page reaches production. This "shift left" approach catches 90% of issues before they affect real users.
Add OG tag validation to your pre-publish checklist alongside spell-checking and accessibility testing.
For sites with APIs powering dynamic content, make sure your OG tags update when underlying data changes. If your product page title changes from "Widget Pro" to "Widget Pro 2.0," the og:title should update automatically. Managing these dynamic integrations is part of broader API management best practices that prevent metadata drift across your digital properties.
Finally, set up cache-busting procedures for each platform. Facebook's Sharing Debugger, LinkedIn's Post Inspector, and Twitter's Card Validator all let you manually refresh cached previews. After fixing OG tags, always clear the platform cache; otherwise, users may continue seeing the old, broken preview for days or even weeks. Document these cache-clearing URLs in your team wiki so anyone can perform the refresh without searching for the right tool.
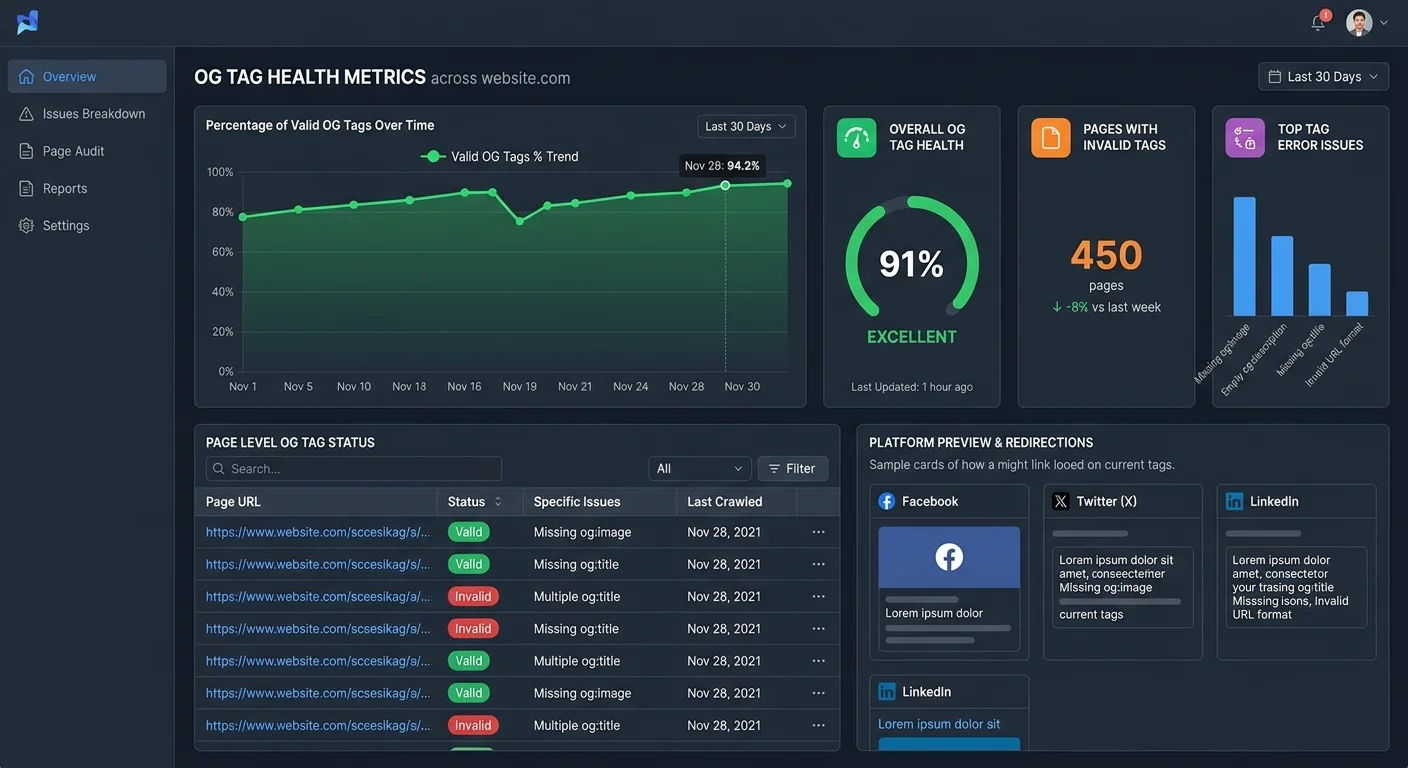
Build a dashboard that tracks OG tag health over time. Plot the percentage of pages passing validation each week and set a target of 95% or higher. When you see dips, investigate whether a recent deployment or CMS plugin update caused a regression. Treat your OG tag coverage metric with the same seriousness you give to Core Web Vitals or broken link monitoring. Consistent attention to this metric directly correlates with stable social referral traffic.
Frequently Asked Questions
?How do I fix a stale cached preview after updating my OG tags?
?Can I use the same og:image across multiple pages on my site?
?How long does a full OG tag audit take for a large site?
?Does a missing og:description really hurt click-through rates that much?
Final Thoughts
Optimizing your link previews is one of the highest-ROI activities in social media marketing, yet most teams treat OG tags as an afterthought. By auditing your existing metadata, writing compelling titles and descriptions, designing platform-optimized images, and automating ongoing monitoring, you build a system that consistently drives higher click-through rates.
Each step compounds on the previous one. Start with your top ten pages today, fix the obvious issues, and expand your process from there. Your social traffic numbers will reflect the effort within weeks.
Disclaimer: Portions of this content may have been generated using AI tools to enhance clarity and brevity. While reviewed by a human, independent verification is encouraged.